How to Restore Faded Metal Outdoor Furniture | Steps We Have To Know
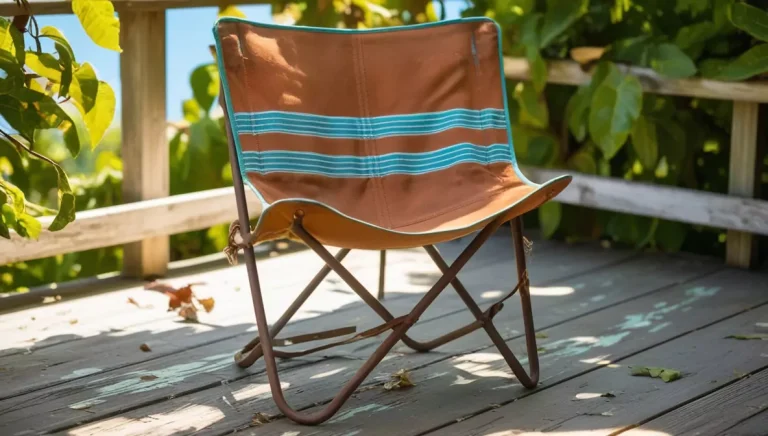
Outdoor furniture is a wonderful way to enjoy the beauty of your backyard, garden, or patio. However, constant exposure to sun, rain, and weather can quickly wear down metal furniture, leading it to fade and lose its charm. Many people assume that replacing faded furniture is the only solution, but knowing how to restore faded metal outdoor furniture can help you bring new life to your existing pieces.
Not only does restoration save you money, but it also gives you the satisfaction of renewing furniture that complements your space.
Let’s walk through a step-by-step process to help you restore faded metal outdoor furniture. By following these steps, you can enjoy furniture that looks as good as new and avoid the expense of replacement.
Why Restore Your Faded Metal Outdoor Furniture?
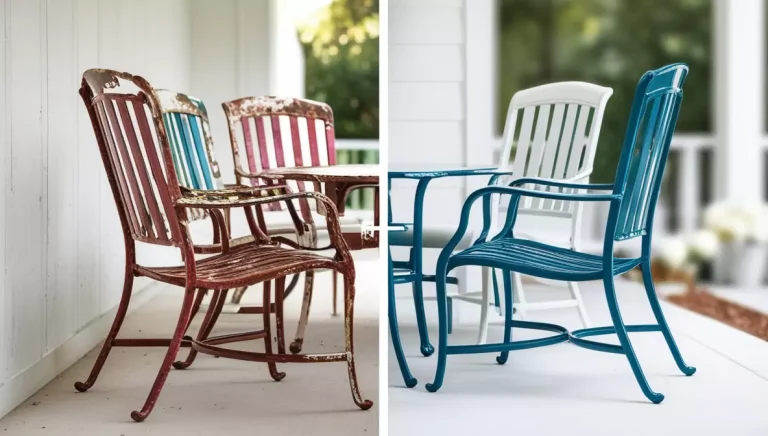
Over time, outdoor metal furniture can lose its luster due to constant exposure to the elements. Sun, rain, and temperature changes wear down paint, create rust spots, and leave metal looking dull. Replacing outdoor furniture can be expensive, but restoring faded metal furniture is an affordable and rewarding alternative.
Learning how to restore faded metal outdoor furniture can save money and bring fresh life to your patio or garden.
Understanding Fading in Metal Outdoor Furniture
Reasons for Fading
To effectively restore metal outdoor furniture, it’s important to understand the primary reasons for fading. Here are some common causes:
- Sun Exposure: Prolonged exposure to the sun’s UV rays can break down paint and finish on metal, causing it to fade over time. Even high-quality outdoor furniture can suffer from fading if exposed to direct sunlight regularly.
- Rain and Moisture: Metal furniture, especially if untreated, can rust and corrode over time due to rain and humidity. Rainwater carries minerals and impurities that can wear down protective coatings, allowing moisture to seep into the metal and cause oxidation.
- Daily Wear and Tear: Regular use, combined with constant exposure to the elements, wears down any protective coatings, finishes, or paint. Dust, dirt, and pollen can also contribute to surface damage, slowly dulling your furniture’s appearance.
Importance of Restoration
Restoring faded metal outdoor furniture is more than just an aesthetic fix; it’s a way to increase the longevity of your furniture and save money.
- Prolong the Life of Your Furniture: Restoration, when done correctly, strengthens the furniture and protects it from future damage. Regular maintenance prevents further fading and wear, meaning your pieces can last for years.
- Save Money: Restoring and refinishing existing furniture is far more affordable than purchasing new outdoor furniture, especially when you consider the costs of high-quality metal options.
Preparation for Restoration
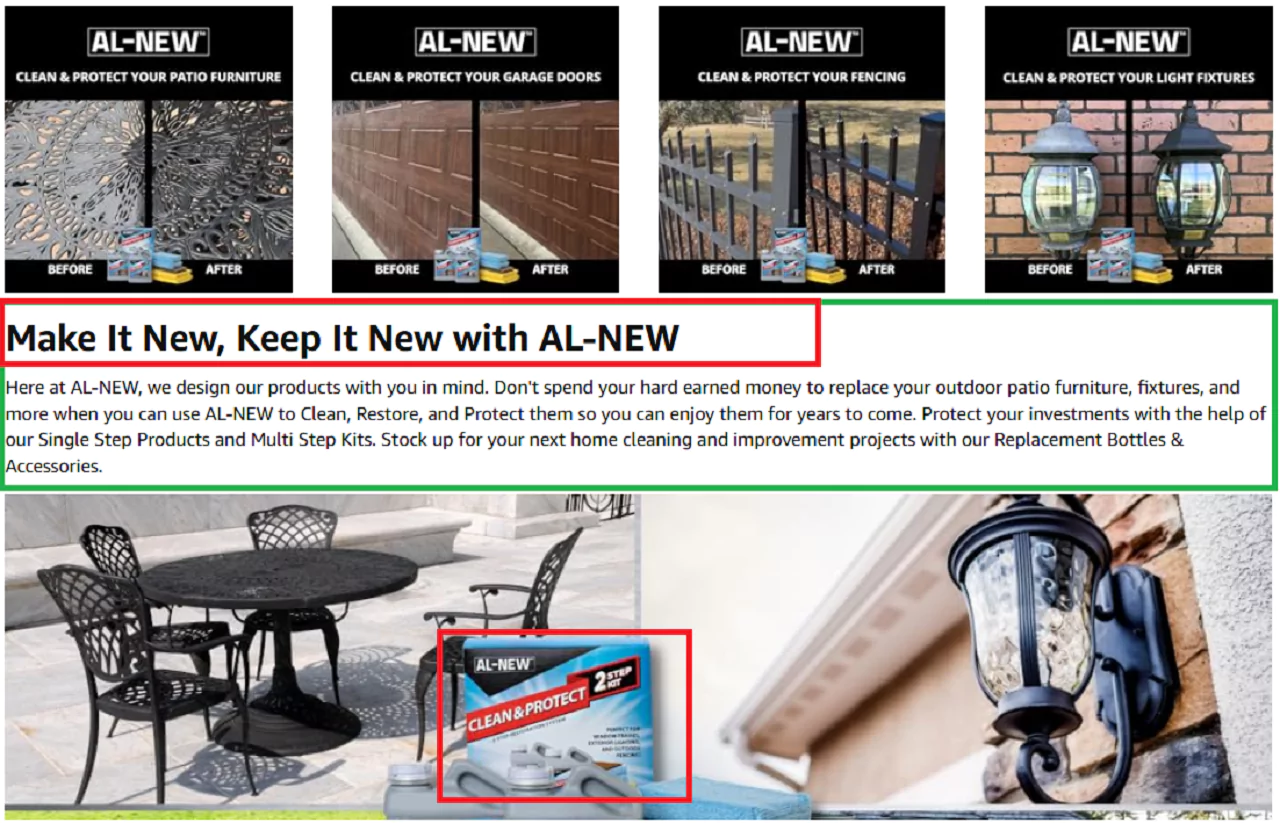
Before beginning the restoration process, gather all the necessary tools and supplies. Preparation is crucial to achieving a long-lasting, professional finish.
Things You Will Need
- Cleaning Supplies: Use a mild soap, water, and a sponge or soft cloth to gently clean the surface without causing further damage.
- Rust Removal Tools: For rust, sandpaper and rust converters can help prepare the surface. You can find sandpaper in various grits—start with a coarser grit for tough spots, then use a finer grit to smooth it out.
- Protective Items: Use gloves to protect your hands, a mask to avoid inhaling dust or fumes, and eye protection if you’ll be sanding or spraying.
- Finishing Supplies: Car wax, rust-resistant paint, and optional coatings like Everbrite can seal in color and create a long-lasting protective layer.
Cleaning the Furniture
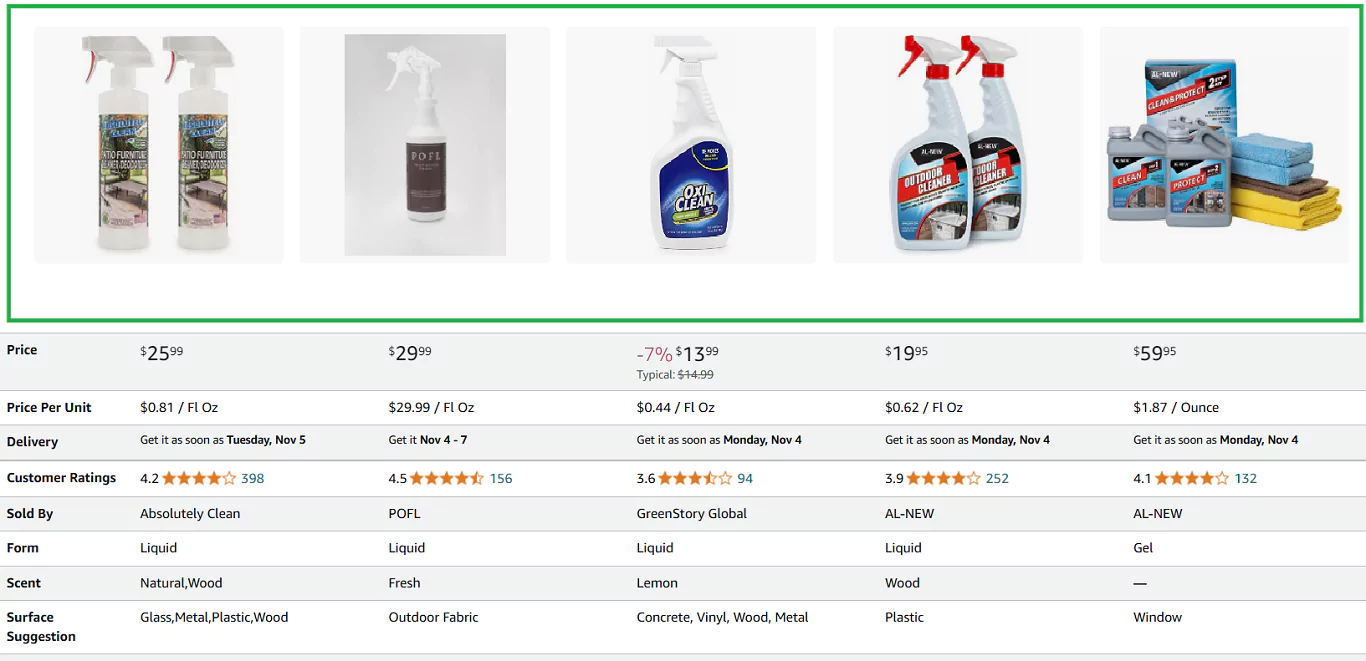
A thorough cleaning is the foundation of a successful restoration. Dust, debris, and even minor rust can interfere with paint and finishes, so it’s essential to start with a clean, smooth surface.
Initial Cleaning
Begin by mixing mild soap with warm water in a bucket. Use this solution to wipe down the furniture, removing dust, dirt, and any surface grime.
- Prepare: Use a sponge or soft cloth soaked in the soapy solution to wipe down the furniture. This will loosen and remove surface-level dirt and dust.
- Scrub: For tougher spots, use a stiff-bristled brush to scrub areas with rust or built-up grime gently. Ensure the furniture is completely clean before moving on to the next step.
Step 2: Deep Cleaning and Rust Removal
Deep cleaning is especially important for metal surfaces, as rust can weaken the furniture over time if not removed.
- Sand Away Rust: Use sandpaper to gently remove rust patches, starting with a coarser grit for any larger patches and moving to a finer grit to smooth the surface. Make sure to sand in circular motions for even removal.
- Apply Rust Converter (Optional): If the metal has significant rust patches, you can use a rust converter to neutralize rust and create a stable surface for paint. Rust converter prevents future corrosion and creates a primed surface for painting or coating.
Waxing and Sealing the Surface
Adding a layer of wax or protective coating enhances the durability of your furniture and gives it a fresh, polished look.
Why Use Wax on Metal Furniture?
Using wax on metal outdoor furniture has several benefits:
- Protection: A layer of wax protects against UV rays, moisture, and filth. By adding a protective layer, you reduce the chance of future rusting and weather damage.
- Enhanced Appearance: A coat of wax restores the natural shine of metal, making the furniture look new and polished. Waxing can add a professional finish that instantly improves your furniture’s appearance.
Step-by-Step Wax Application
Follow these steps to apply wax for the best results:
- Choose the Right Wax: Select a car wax specifically designed for metal surfaces. Avoid heavy-duty wax meant for cars, as it may leave a residue or alter the finish.
- Apply Thin, Even Layer: Apply a thin, even layer of wax to the metal surface using a soft cloth. Make sure not to over-apply, as excess wax can leave streaks or become sticky in hot weather.
- Buff to Shine: Allow the wax to sit for a few minutes, then buff the surface with a clean, soft cloth until it shines. Buffing not only polishes the wax but also ensures an even finish.
Tip: For added durability, consider using Everbrite coating. Everbrite is a clear, UV-resistant coating that enhances color retention and provides a long-lasting shield against rust. This extra layer can be especially helpful for outdoor furniture exposed to extreme weather
Preparing Your Furniture for Painting
Clean and Dry the Surface Thoroughly
Before you start, make sure the surface is free of debris, dust, and oil. Dirt can prevent paint from adhering properly, affecting the final result. Use a mild soap with water, scrubbing gently to remove all debris. Rinse the surface well with clean water after cleaning.
The metal surface should be completely dried with a soft towel. Moisture on the surface will interfere with paint adhesion, so double-check that every spot is dry before moving on.
Apply a Primer if the Metal is Particularly Weathered
If your furniture has exposed bare spots, a primer will help. The primer ensures the paint adheres better, while also providing a barrier against rust. Opt for a rust-inhibiting primer specifically made for metal surfaces. This extra layer of protection can extend the life of your paint job significantly.
To apply the primer, adhere to the packaging’s instructions. Allow it to dry completely before moving on to the painting step.
Painting Your Metal Furniture for a Fresh Look
Choose a Rust-Resistant Paint
To prevent further damage to your furniture, choose a paint that resists rust. Spray paint is often ideal, offering a smooth and even application. Choose paint designed for metal surfaces and suitable for outdoor use. This choice will ensure the paint can withstand various weather conditions, from sun to rain.
Apply sparsely, letting each layer dry.
For a smooth, professional finish, apply paint in thin, even layers. To prevent leaks, move the spray can steadily while holding it 8 to 12 inches off the ground. Allow the previous layer to fully dry before adding the next. Multiple thin layers provide a better finish and reduce the risk of uneven spots.
This stage requires patience; hurrying could cause splotches or drips. Allowing the paint to dry fully between coats will improve durability and appearance.
Consider Using a Topcoat to Seal the Paint
Adding a topcoat after painting provides extra protection. A clear, rust-resistant topcoat seals the paint and adds a polished look. Apply thin, even layers of topcoat, just as you did with the paint. Allow the prior layers to fully dry before applying a fresh coating.
This protective coating will help prevent fading and extend the furniture’s fresh look. The topcoat also gives a glossy finish that makes your furniture look professionally restored.
Extra Care Tips for Longevity
Protect Your Furniture from Sun and Rain
Exposure to direct sunlight and rain can damage even well-restored furniture. To avoid fading and rusting, place your furniture in shaded areas or use covers when not in use. Shaded areas protect from UV rays, helping your paint job last longer.
Use waterproof covers to shield your furniture from rain and extreme weather. This simple step adds years to your furniture’s life.
Routine Cleaning and Waxing
Routine cleaning prevents dirt buildup and keeps your furniture looking fresh. Clean your metal furniture regularly with mild soap and water, wiping it down with a soft cloth.
Reapplying wax periodically also helps. Wax provides a protective layer, prevents corrosion, and maintains shine. It’s a quick step that offers long-lasting results, so add it to your maintenance routine.
Use Protective Coatings like Everbrite for an Extra Layer
An additional protective layer can keep your furniture looking new. Applying a protective coating, such as Everbrite, once a year prevents rust and fading. Everbrite is easy to apply and provides robust protection, especially for outdoor conditions.
This simple maintenance can extend the life of your metal furniture, saving you time and money on future repairs.
FAQs on Restoring Faded Metal Outdoor Furniture
Q: How do I rejuvenate the metal on my outdoor furniture?
A: To rejuvenate metal outdoor furniture, start by cleaning it with mild soap and water to remove dirt and grime. Sand away any rust, and apply a rust converter if necessary. Once the surface is clean and smooth, apply a rust-resistant paint or a protective coating like Everbrite to restore its appearance and protect against future damage.
Q: How to restore sun-faded metal?
A: To restore sun-faded metal, clean the surface thoroughly to remove dirt and debris. Apply a fresh coat of rust-resistant paint in thin layers, allowing each to dry completely. For additional protection and shine, consider applying a clear topcoat or wax after painting.
Q: How to restore sun-faded outdoor furniture?
A: For sun-faded outdoor furniture, start by cleaning the surface to remove any dirt. If the furniture is metal, sand away rust and smooth the surface. Apply a primer if needed, followed by a rust-resistant paint. Finish with a clear topcoat or protective wax to enhance durability and appearance.
Q: How do you restore weathered metal?
A: To restore weathered metal, clean the surface with soap and water. Remove rust using sandpaper, and apply a rust converter to prevent further corrosion. Paint the metal with rust-resistant paint, and apply a protective coating to seal and protect the surface.
Q: What materials do I need for restoring metal outdoor furniture?
A: You’ll need mild soap, water, sponges, sandpaper, rust converter, rust-resistant paint, a primer (if needed), protective items like gloves and masks, car wax, and optionally, Everbrite coating.
Q: Why should I apply wax to metal furniture?
A: Applying wax to metal furniture adds a protective layer that helps prevent weather damage, rust, and fading. It also enhances the shine and overall appearance of the furniture.
Q: Can I use a clear topcoat instead of wax on metal furniture?
A: Yes, a clear topcoat can be used as an alternative to wax. It seals the paint, protects against fading, and adds a layer of durability to the metal surface.
Q: How often should I clean and maintain my metal outdoor furniture?
A: Regularly clean your metal outdoor furniture with mild soap and water, ideally every few weeks, to maintain its appearance. Apply wax or a protective coating annually to protect against rust and weather damage.
Q: Is it necessary to use a primer before painting metal furniture?
A: Using a primer is recommended if the metal is particularly weathered or has exposed bare spots. A primer helps the paint adhere better and provides an additional layer of protection against rust.
So Start With These Process!
Restoring faded metal outdoor furniture may take some effort, but it’s a straightforward and rewarding process. By understanding the causes of fading and following these steps, you can renew the appearance of your outdoor furniture, protect it from future wear, and extend its life.
The answer of hot to restore faded metal outdoor furniture is a simple process with a big payoff. By following these steps, you can clean, paint, and protect your metal furniture to make it look new again. Regular maintenance and protection from the elements will keep it in top condition, providing years of enjoyment in your outdoor space.
Restoring rather than replacing also helps you save resources and maintain high-quality furniture that matches your style. So, gather your supplies and start the rewarding process of restoring your metal outdoor furniture today!

