Outdoor Table Plan: what you’ll wish you knew sooner
Your Backyard Deserves a Showstopper
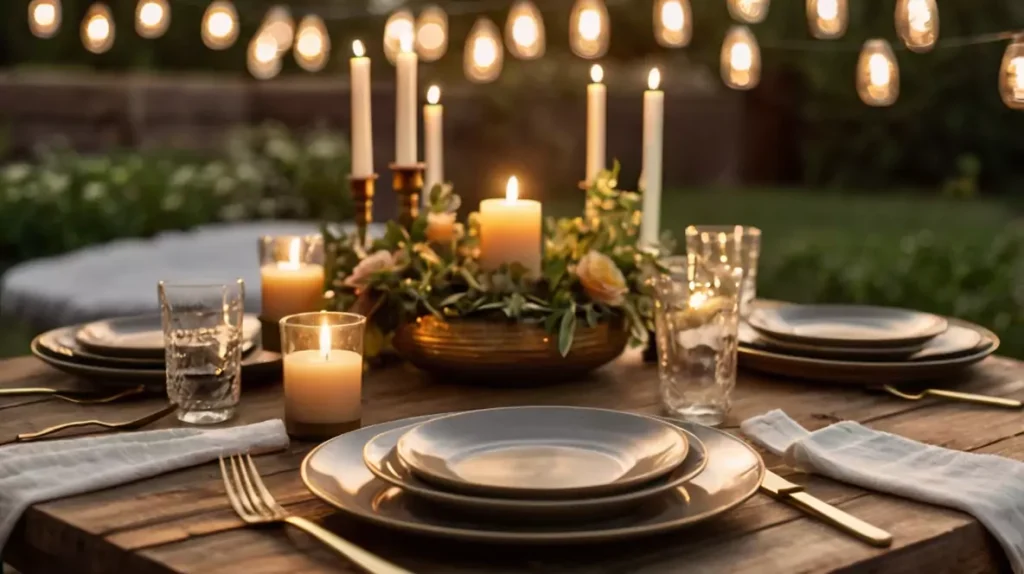
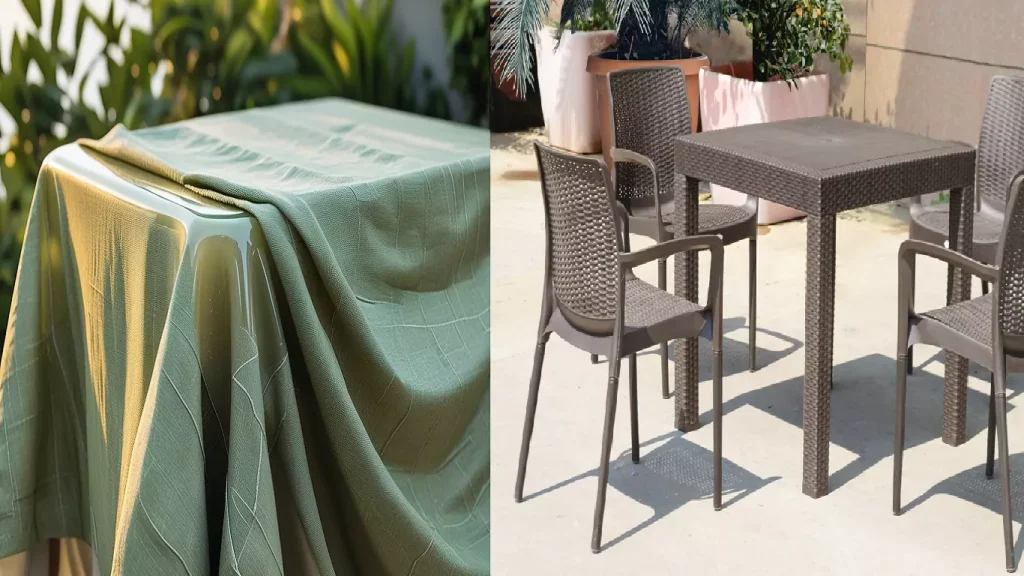
Imagine the smell of freshly cut grass, a cool morning air, and a hot cup of coffee sitting on a gorgeous outdoor table that you made yourself. It’s not just a table; it’s a statement piece, the heart of your backyard where laughter, meals, and memories will naturally gather.
Whether you’re dreaming of cozy family dinners under the stars, lively summer barbecues with friends, or a peaceful retreat to journal and unwind, your outdoor space deserves a centerpiece that’s as functional as it is beautiful.
And here’s the best part:
You don’t need years of construction skill or a garage full of expensive tools. With the right plans — and a little bit of weekend ambition — anyone can build a table that rivals high-end store designs at a fraction of the price.
In this guide, you’ll find approachable, detailed plans crafted for every skill level — from first-timers holding a drill for the first time, to seasoned DIYers ready for their next masterpiece. Let’s transform your outdoor space into the envy of the neighborhood, one board at a time.
Why Build Your Own Outdoor Table?
If you’ve ever browsed outdoor furniture stores, you know the sticker shock is real — a well-built dining table can easily run into the hundreds or even thousands of dollars. But when you build it yourself, you’re not just saving serious cash — you’re gaining something priceless: control, creativity, and a sense of real accomplishment.
Save Big Without Sacrificing Quality
Store-bought tables often come with inflated prices, and sometimes, surprisingly cheap materials hidden under a glossy finish. By building your own, you choose solid, weather-resistant woods like cedar, teak, or pressure-treated pine — ensuring a sturdier, longer-lasting table for a fraction of the retail cost. It’s not unusual to build a beautiful, full-size table for under $100 — a fraction of what you’d pay at a big box store.
Customize to Fit Your Space and Style
Every outdoor area is unique. Perhaps your expansive backyard cries out for a huge beer garden table big enough to seat a crowd, while your small balcony demands a streamlined, space-saving design. There are no one-size-fits-all options when you make it yourself.
Want a built-in ice bucket for summer parties? Prefer a firepit cutout in the center for cool nights? Need it exactly 7 feet long to fit your patio nook?
You decide — dimensions, finishes, features — all tailored to your needs and tastes. The only limitations are your creativity and sometimes your tape measure.
Feel the Lasting Satisfaction of Craftsmanship
There’s a deep, undeniable pride that comes from stepping back, wiping the sawdust off your hands, and admiring something you built from raw materials.
Unlike store-bought furniture that may chip, wobble, or fade after a season, your DIY table will stand as a lasting symbol of your skills, creativity, and care. Every scratch, weathered edge, and family gathering around it will add character — a living testament to what you created.
Bottom line:
When you build your own outdoor table, you don’t just furnish a space — you create memories, save money, express your personal style, and build something that can last a lifetime.
3. 5 Free Outdoor Table Plans You’ll Love
One of the best parts about building your own table? You can pick a design that fits your skill level, budget, and personal style — without feeling overwhelmed.
Here are five free outdoor table plans that cater to every kind of DIYer — whether you’re after something rustic, modern, compact, or party-ready.
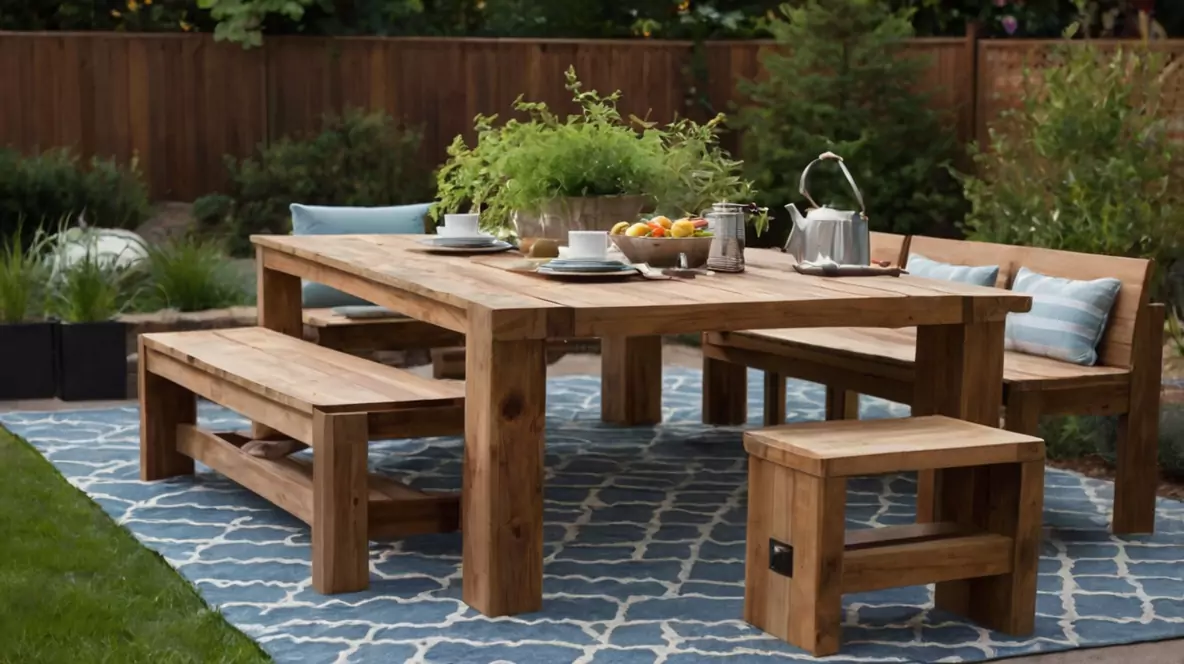
The Weekend Warrior: Classic 2×4 Farmhouse Table (Under $50)
Perfect for first-timers or weekend warriors, this sturdy farmhouse table uses basic 2×4 lumber you can find at any hardware store.
- Build Time: 4–6 hours
- Skill Level: Beginner
- Highlights: Clean lines, solid build, timeless style.
- Pro Tip: Pre-sand your boards before assembly to save tons of time later.
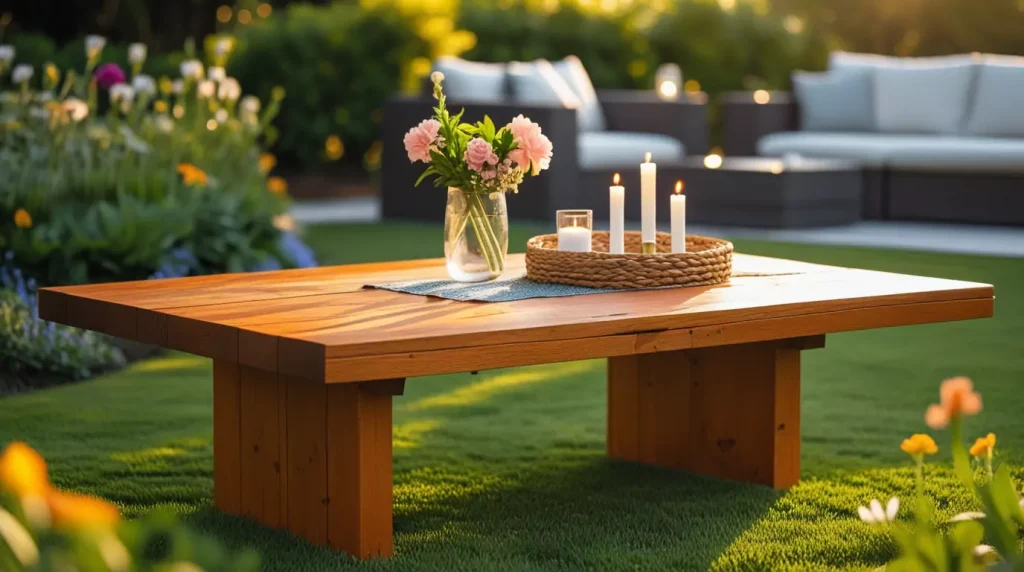
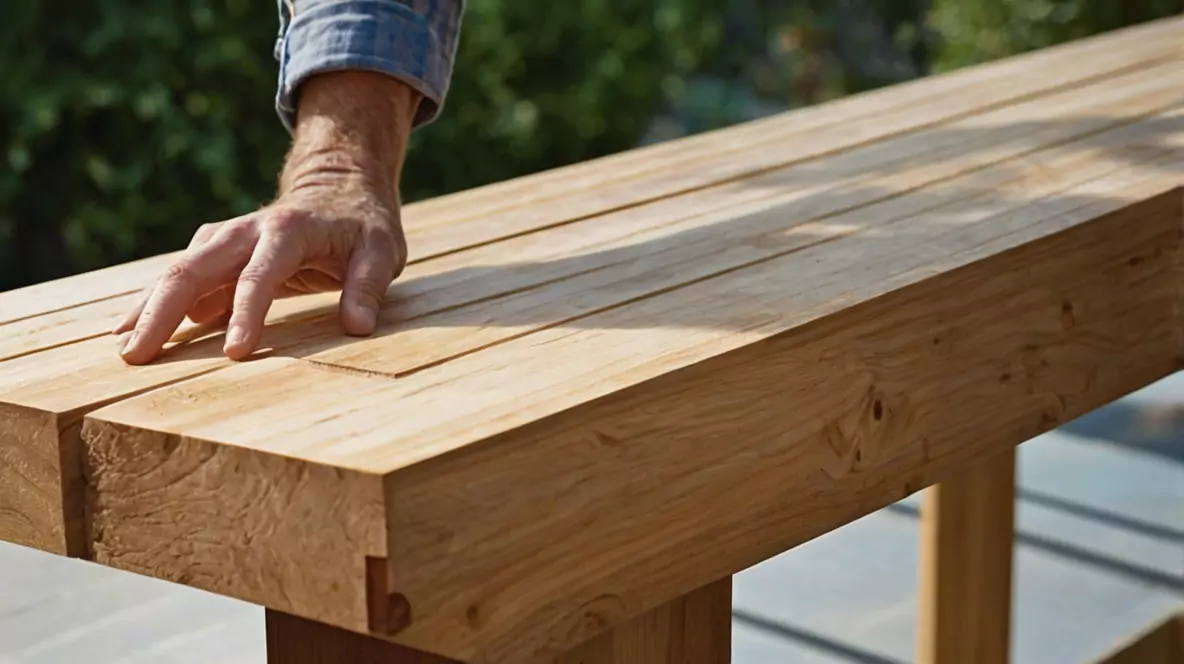
Elegant & Easy: Sleek Cedar Top + Hairpin Legs
Want something a little more modern and minimalist? This design pairs a smooth cedar tabletop with chic black hairpin legs — giving you that trendy cafe look with surprisingly little effort.
- Build Time: 2–4 hours
- Skill Level: Beginner to Intermediate
- Highlights: Lightweight, stylish, and weather-resistant.
- Pro Tip: Apply a UV-protective sealant to keep the cedar’s beautiful color from fading in the sun.
Picnic Perfection: Foldable Space-Saving Table
Tight on space? This foldable outdoor table is a genius since it’s small enough to pack flat when not in use and robust enough for everyday meals. Ideal for small patios, balconies, or portable setups.
- Build Time: 6–8 hours
- Skill Level: Intermediate
- Highlights: Space-saving, functional, and perfect for apartment living.
- Pro Tip: To stop rust over time, use hinges made of stainless steel.
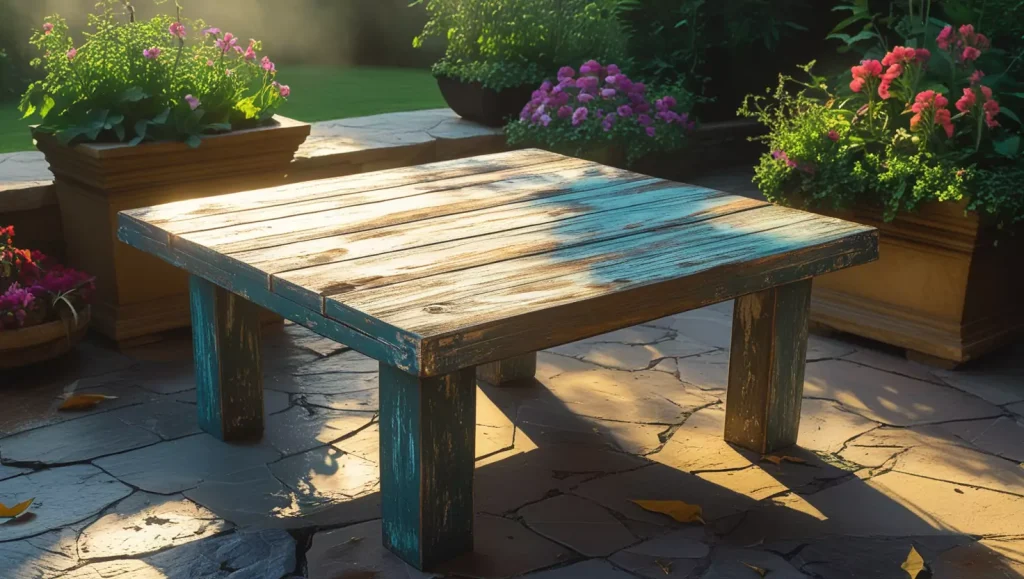
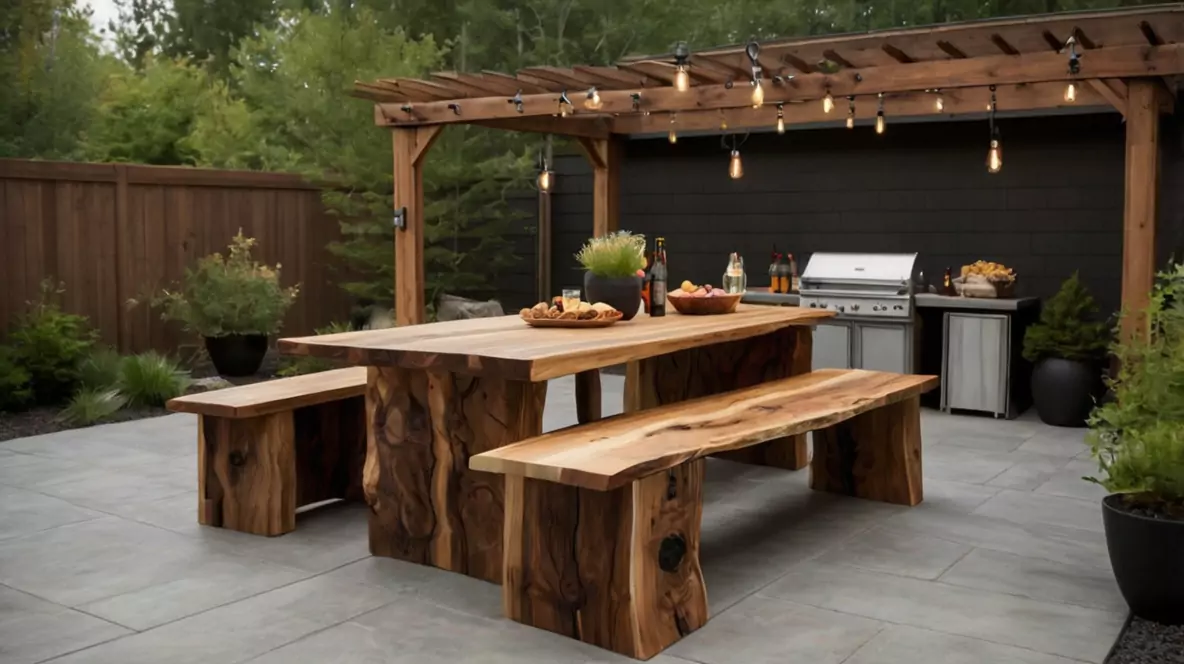
Rustic Charm: Live-Edge Slab Table
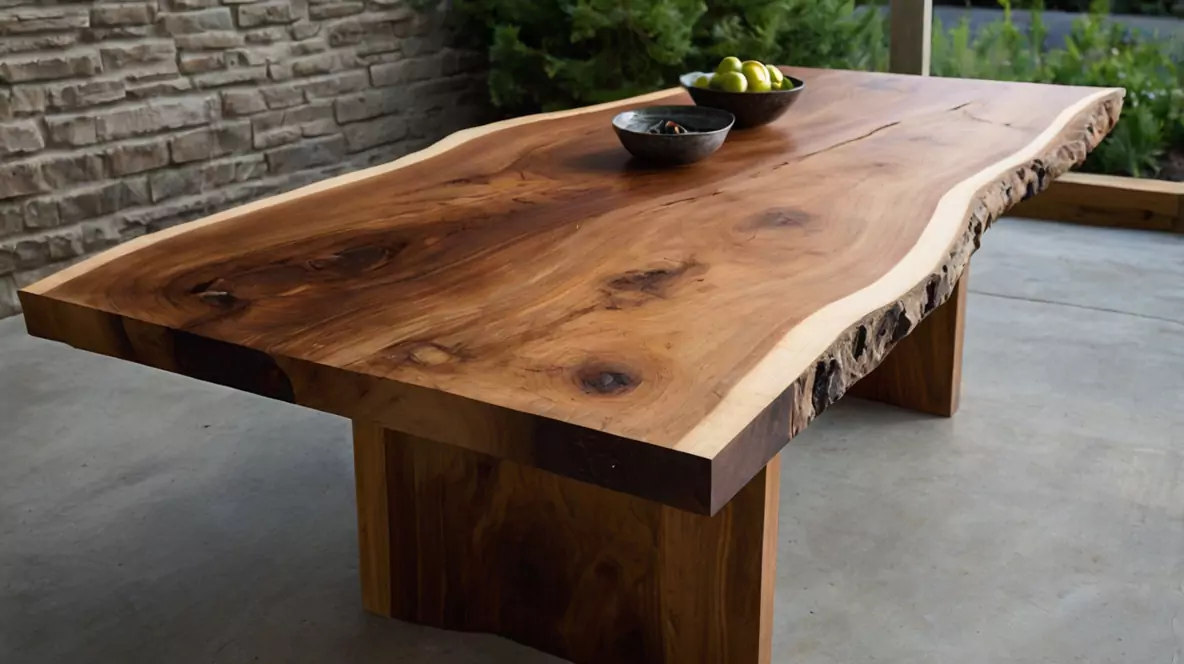
A live-edge slab table embodies “outdoor luxury” better than anything else. This plan keeps it simple — no complicated joinery, no intimidating cuts. Just a stunning natural wood slab resting atop sturdy legs.
- Build Time: 5–7 hours
- Skill Level: Beginner-Friendly (minimal cutting required)
- Highlights: Organic, one-of-a-kind look that ages beautifully.
- Pro Tip: Choose a slab with natural knots and textures for maximum rustic character.
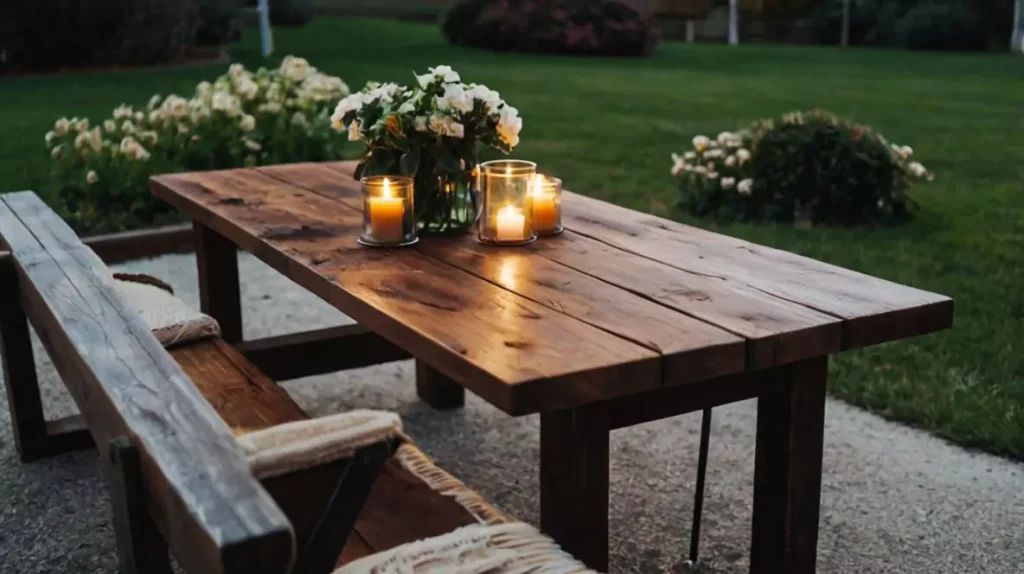
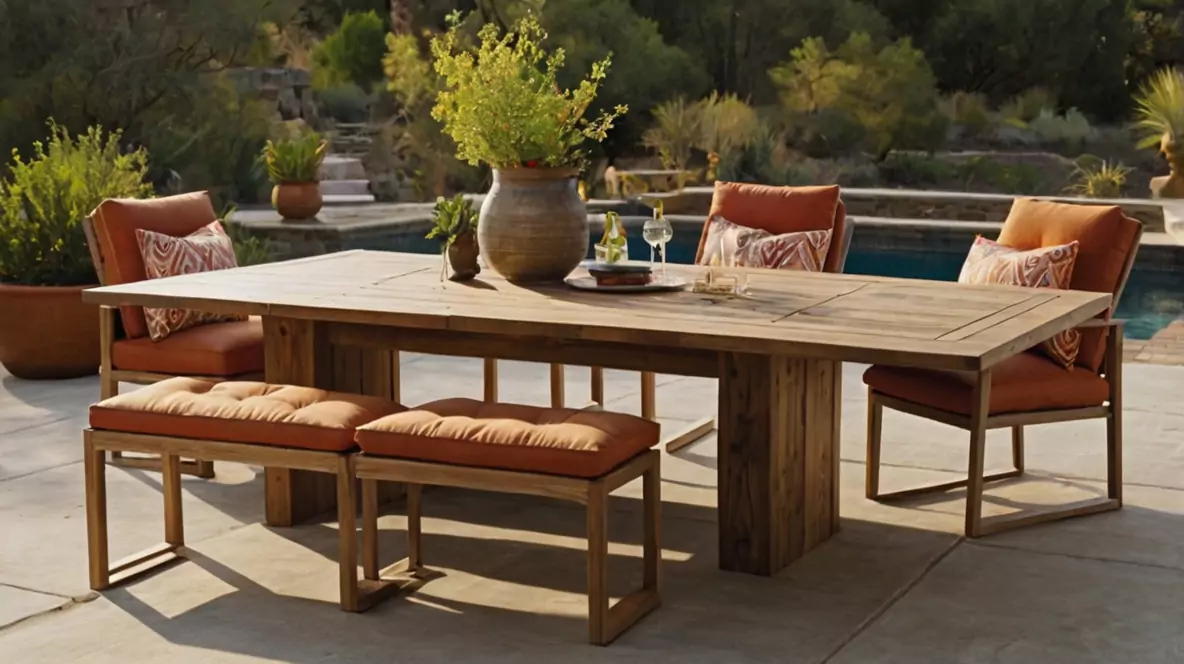
Party Ready: Extra-Long Beer Garden Table with Bench Seats
If your backyard is the go-to for celebrations, this party-ready beer garden table is a must. Long enough for big groups, sturdy enough for heavy use, and classic enough to never go out of style.
- Build Time: 8–10 hours
- Skill Level: Intermediate to Advanced
- Highlights: Built-in benches, durable design, perfect for hosting.
- Pro Tip: Slightly angle the bench legs outward for better stability — especially on uneven backyard surfaces.
Each of these designs is totally customizable — you can swap wood types, adjust dimensions, or even add your own creative flair.
Bottom line? No matter your skill level or space, there’s a perfect project waiting for you to tackle this weekend.
4. Pro Tips for Building Like a Pro (Even if You’re New!)
Anyone can build a table — but building a table that stands up to the elements, looks incredible, and lasts for years? That’s where a few insider secrets come into play.
Experienced builders know the following, and you’ll wish you had known sooner:
Choose the Right Wood for Outdoor Durability
Not all woods are created equal when it comes to battling sun, rain, and temperature swings.
 Here are the best contenders:
- Cedar: Naturally resistant to rot, insects, and moisture, cedar is lightweight, easy to work with, and smells amazing. It weathers into a beautiful silvery patina if left untreated.
- Teak: Extremely durable, robust, and rich in natural oils, this wood is the king of outdoor woods. It’s pricier but virtually maintenance-free.
- Pressure-Treated Pine: Budget-friendly and widely available. Treated to resist rot and insects, but requires staining or sealing for the best look and lifespan.
Pro Tip:
Skip woods like untreated pine or oak unless you’re prepared for lots of upkeep — they’re prone to cracking, warping, and rot outdoors.
Stain vs. Sealant: What’s the Difference — and Which One Wins?
- Stain penetrates into the wood, adding color while offering moderate water resistance. It’s ideal if you want a warm, rustic finish that enhances the natural grain.
- Sealant forms a clear, tough barrier on the surface — think of it like a raincoat for your table. It doesn’t change the color much but offers hardcore protection against moisture and UV rays.
Best Practice:
For maximum durability, apply a stain first, then top it with an outdoor-rated sealant.
Bonus: Use a UV-protectant sealant to guard against fading in the sun!
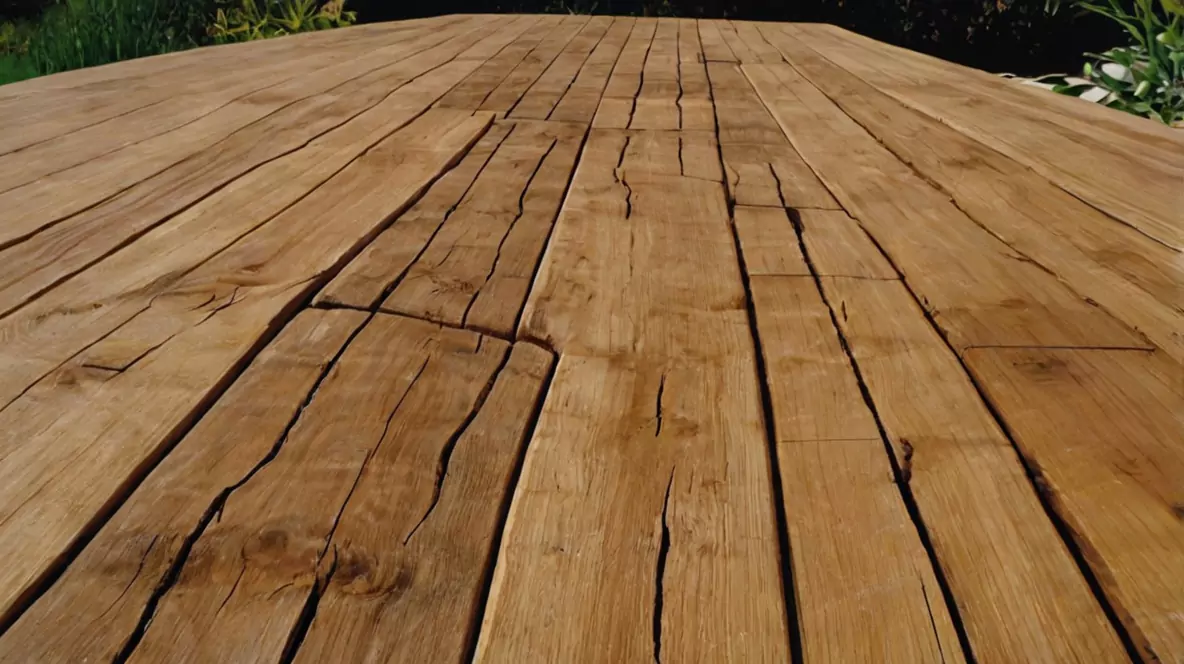
How to Avoid Warping (The Silent Table Killer)
Warping happens when wood absorbs moisture unevenly — and it can twist your beautiful project out of shape fast.
The good news? If you know how, preventing it is simple:
- Drainage Gaps: When laying your tabletop boards, leave small gaps (⅛” to ¼”) between each plank. This allows rainwater to escape instead of pooling.
- Proper Finish: Always seal all sides of each board — even the underside! — to ensure even moisture absorption.
- Good Design: Avoid wide, unsupported spans. Use cross-support beams underneath your tabletop to add rigidity and prevent sagging over time.
Pro Tip:
Store wood flat and elevated off the ground before you build, so boards can acclimate to your outdoor environment. This step alone saves tons of future headaches.
Bottom Line:
With the right materials, smart finishing choices, and a few construction tricks, even beginner DIYers can build a table that looks professionally crafted and stands strong for years of outdoor memories.
5. Reader’s Choice: Which Table Will YOU Build?
Now that you’ve seen the plans and pro tips, it’s time to pick your perfect project — and we want to hear about it!
Are you dreaming of:
- A rustic live-edge table that feels like it was plucked straight from a mountain lodge?
- A sleek cedar and hairpin leg design that screams modern minimalist charm?
- The ultimate party-ready beer garden setup — built to host a summer’s worth of backyard BBQs?
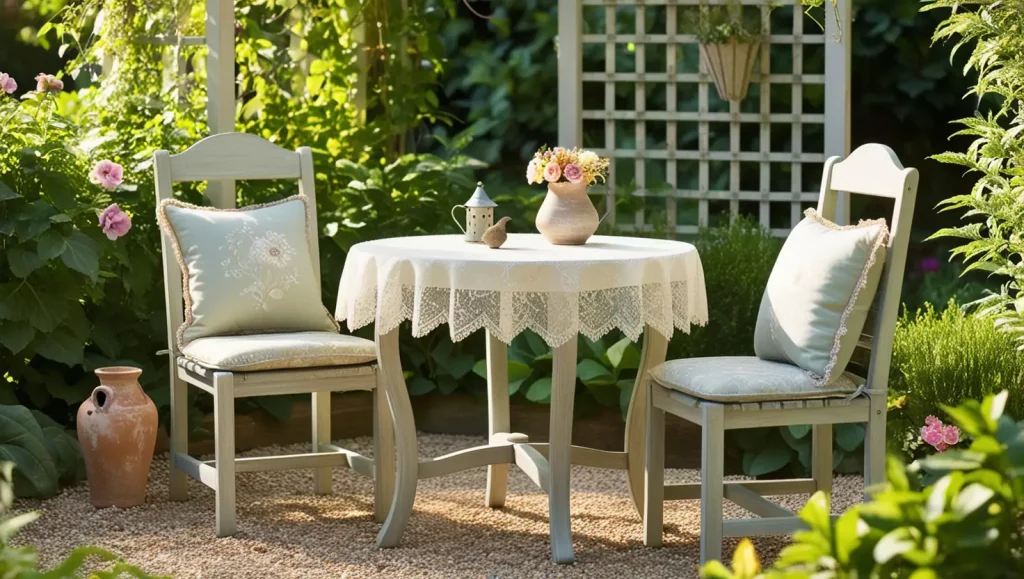
- Or maybe a space-saving foldable picnic table that transforms even the smallest patio into a dinner party hotspot?
Cast your vote below — tell us which table design you’re most excited to build! (Bonus points if you share why you chose it — we love hearing your creative plans.)
Show Off Your Finished Build!
We didn’t just want this to be a “read and forget” kind of guide — this is about creating your outdoor masterpiece and inspiring others too.
After you finish your table:
✅ Snap a few photos (even mid-build progress shots are awesome!)
✅ Tag us on Instagram or Pinterest with #MyDIYTable
✅ Or simply email us your pics and a short story about your project — we love featuring reader builds in future posts and newsletters!
Your project could be featured in our DIY Showcase Series — reaching thousands of fellow builders for well-deserved bragging rights!
Quick Poll: What’s Your Build Style?
(Optional section you could easily plug into your blog)
- Classic Farmhouse
- Modern Minimalist
- Party Central Beer Garden
- Rustic Lodge Look
- Space-Saving Genius
Bottom Line:
This isn’t just about building a table — it’s about building your own slice of outdoor paradise. And we can’t wait to see what you create!
6. Final Punch: Your Dream Table is Just a Weekend Away
Just a few afternoons, some simple tools, and a little elbow grease might get you gathered around a gorgeous patio table that you constructed yourself.
It’s not about perfection — it’s about creating something real.
Every mark, every knot in the wood, every screw you drive in yourself adds character and story to a piece that will be at the center of your life’s best moments.
Whether it’s morning coffees, Sunday dinners, birthday parties, or cozy fall nights under the stars — your table becomes the backdrop to countless memories still waiting to be made.
And here’s the truth:
You don’t need to be a master woodworker.
You don’t need a fancy workshop.
You just need a plan (we’ve got you covered), some basic supplies, and the willingness to start.
Ready to Build? Grab Your Free Outdoor Table Plans!
Download Your Free Cut List + Tool Checklist Here — everything you need, step-by-step, to build a table you’ll be proud to show off.
(Bonus: Sign up for updates and get more free woodworking plans, outdoor project ideas, and exclusive DIY tips delivered right to your inbox!)
We Want to See Your Masterpiece!
Finished your build?
- Tag us with #MyDIYTable on Instagram, Facebook, or Pinterest.
- Or send us a photo and a short story about your project — you might get featured in our next DIY Showcase!
Remember:
Your dream backyard centerpiece is closer than you think — and you have everything you need to make it happen.
So what are you waiting for?
Dust off that drill, grab your wood, and let’s build something amazing together.