Want to learn how to make a simple outdoor corner table?
Creating your own outdoor furniture can be a rewarding and practical project, especially when it comes to building a simple outdoor corner table. Whether you’re looking to spruce up your patio, garden, or balcony, a corner table is a versatile addition that maximizes space while providing a functional surface for drinks, plants, or decor.
DIY outdoor furniture offers numerous benefits. Not only is it cost-effective compared to store-bought options, but it also allows you to customize the design to perfectly fit your space and style. Plus, there’s a unique sense of satisfaction that comes from crafting something with your own hands.
We’ll walk you through the steps to build a sturdy and stylish outdoor corner table that can withstand the elements while enhancing your outdoor living area. Whether you’re a seasoned DIY enthusiast or a beginner, this project is straightforward and achievable with basic tools and materials.
Let’s get started!
Why Build an Outdoor Corner Table?
An outdoor corner table is a practical and stylish addition to any outdoor space. Whether you have a small patio, balcony, or deck, this compact piece of furniture maximizes space while enhancing functionality. It provides a convenient surface for various uses, adds aesthetic appeal, and serves as an affordable DIY project.
Space-Saving Design
One of the biggest advantages of an outdoor corner table is its ability to fit into tight spaces. Many outdoor areas have unused corners that go to waste. By incorporating a corner table, you make the most of these spaces without cluttering your patio or deck. Unlike bulky furniture that takes up valuable room, a corner table neatly tucks away, allowing for better movement and organization. This design is especially beneficial for smaller areas, where every inch of space matters.
Functional and Versatile
An outdoor corner table is not just about aesthetics—it serves multiple functions. Use it as a side table to hold drinks, snacks, or books while you relax outside. It can also act as a plant stand, showcasing potted greenery or flowers to bring life to your outdoor setting. If you enjoy entertaining guests, it becomes the perfect spot for placing decorative items, candles, or lanterns. Whether you need a small workspace, a storage area, or a surface for displaying decor, an outdoor corner table adapts to your needs.
Decorative Appeal
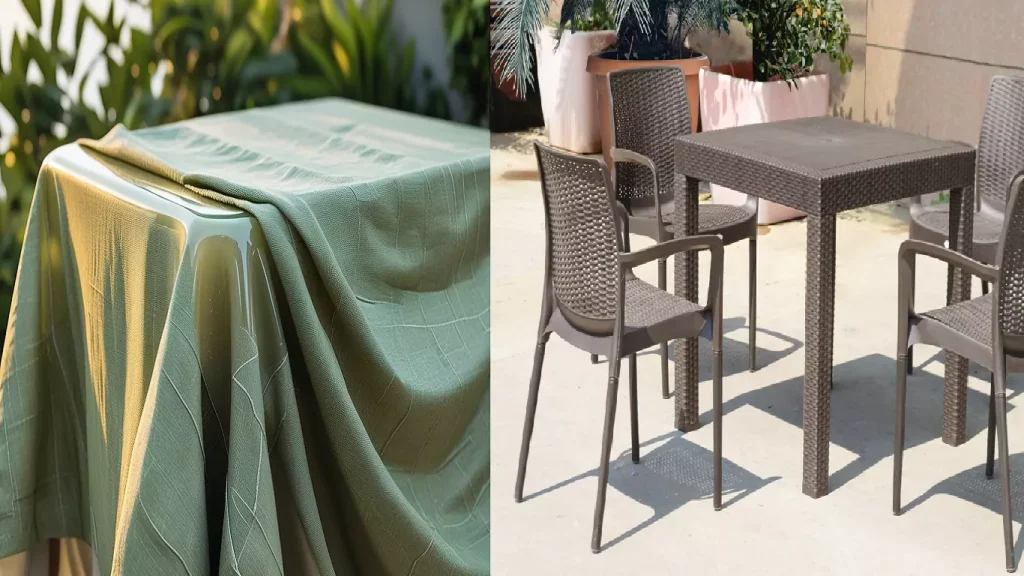
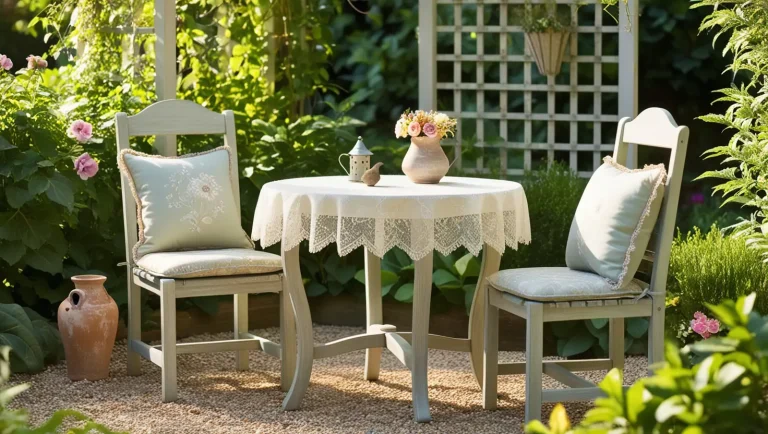
A well-crafted corner table enhances the overall look of your outdoor space. You can personalize it to match your existing furniture, whether through paint, stain, or design modifications. Pair it with outdoor cushions, rugs, or matching decor to create a cozy, inviting atmosphere. Adding plants or decorative lanterns to the table further enhances its charm, making your patio or balcony feel more complete and stylish. The right outdoor furniture can transform a dull corner into a beautiful focal point.
Affordable DIY Project
One of the best reasons to build your own outdoor corner table is the cost-effectiveness. With just a few materials—such as wood, screws, and a finish—you can create a durable and attractive table for under $20. Unlike store-bought furniture, a DIY corner table allows you to customize the dimensions, color, and style to suit your preferences. The process is simple and rewarding, making it a great weekend project for DIY enthusiasts of all skill levels.
What to Consider Before Building an Outdoor Patio Table
Building an outdoor patio table can enhance your outdoor space, providing a functional and stylish area for relaxation or entertaining guests. However, before starting your project, it’s essential to consider factors such as wood selection, durability, size, and finishing options.
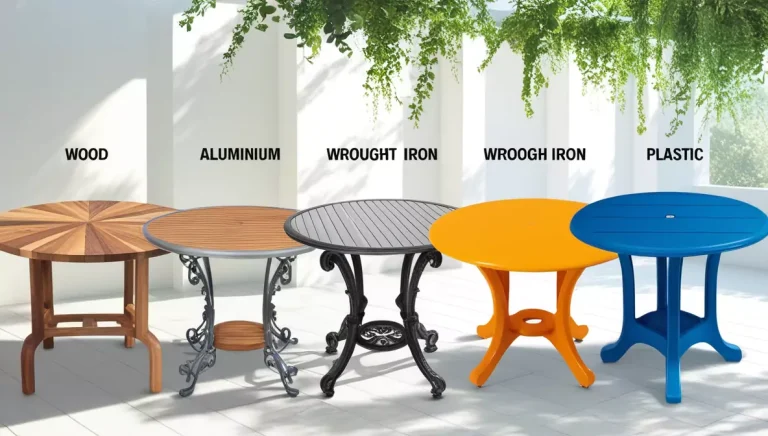
Choosing the Right Wood
Selecting the appropriate wood is crucial for ensuring your patio table lasts through different weather conditions. Some of the best weather-resistant wood options include:
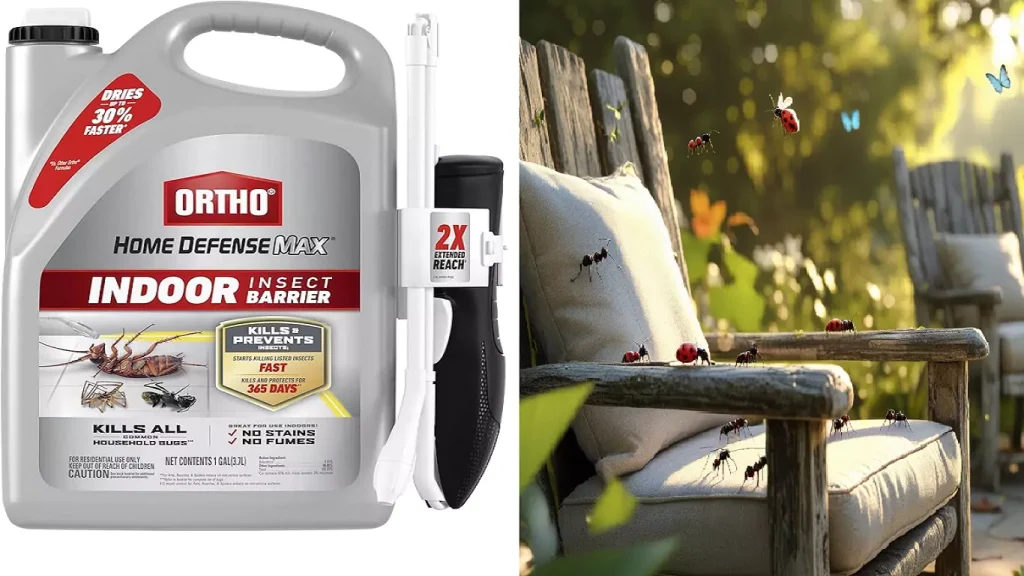
- Pressure-Treated Wood – Treated with chemicals to resist rot, insects, and moisture, making it a durable choice for outdoor use.
- Cedar – Naturally resistant to insects and decay, cedar is lightweight and has an appealing natural look.
- Redwood – Known for its rich color and resistance to weathering, redwood is a premium choice for outdoor furniture.
By choosing high-quality, weather-resistant wood, you can ensure your table remains in good condition for years to come.
Durability Matters
Outdoor furniture is constantly exposed to rain, sun, and fluctuating temperatures. To enhance the longevity of your patio table:
- Opt for pressure-treated wood or naturally resilient options like cedar and redwood.
- Apply protective coatings, such as stains or sealants, to minimize weather-related damage.
- Consider using stainless steel or galvanized screws and bolts to prevent rusting.
Investing in durable materials will help maintain the structural integrity and appearance of your table.
Table Size and Design
Measure Your Space
Before building your patio table, measure the designated space to ensure a perfect fit. Some popular size and shape options include:
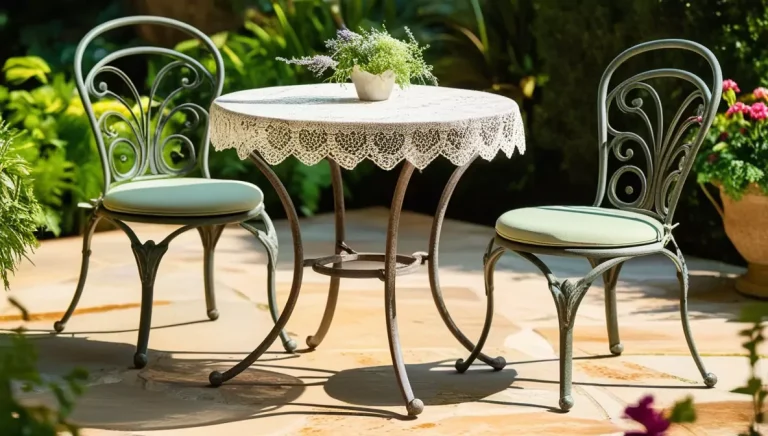
- Small round tables – Ideal for compact patios and cozy corners.
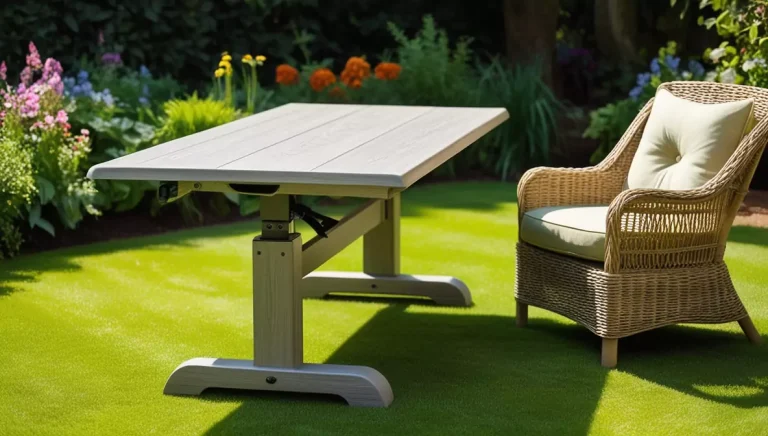
- Long rectangular tables – Suitable for larger gatherings and dining areas.
- Corner tables – Great for optimizing space in smaller outdoor areas.
Design Options
Choose a table design that complements your existing outdoor furniture. Consider:
- A round outdoor coffee table for a casual, inviting atmosphere.
- A side table for extra functionality and convenience.
- A custom-built corner table to maximize your outdoor space.
Finishing Your Table
Weather Protection
Protecting your table from the elements is essential for durability. Apply outdoor-grade stains, paints, or sealants to create a protective barrier against moisture and UV rays.
Stain vs. Paint
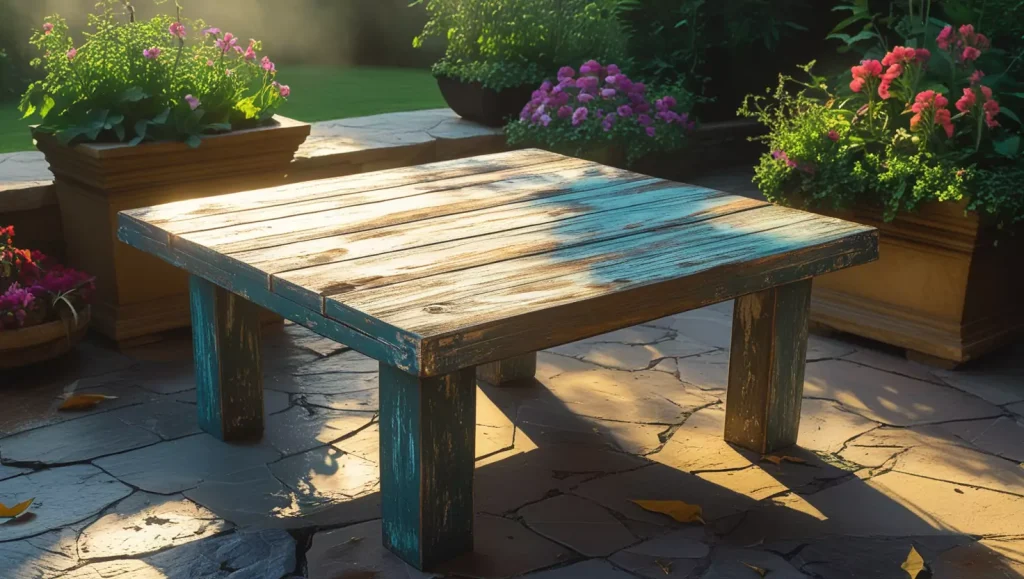
- Stain enhances the natural beauty of the wood while providing a protective layer.
- Paint offers a variety of color choices and additional protection against weathering.
Choosing the right finish ensures both durability and aesthetic appeal, making your outdoor patio table a long-lasting investment.
Also Recommended To Read
Tools and Materials Needed for Your DIY Project
When starting a woodworking or outdoor project, having the right tools and materials is essential. Below is a list of everything you’ll need to complete your project efficiently.
Essential Tools
To ensure precise cuts, strong joints, and a smooth finish, gather the following tools:
- Saw – Ideal for cutting wood to the desired size.
- Drill – Required for screw insertion and pilot hole drilling.
- Kreg Jig – Perfect for creating strong pocket hole joints.
- Sandpaper – Helps smooth rough edges for a professional look.
- Wood Glue – Adds extra strength to wood joints.
- Screws – Secure wood pieces together firmly.
Materials Required
For a durable and sturdy build, these materials are recommended:
- 2x4s and 2x2s – Essential for framing and structural support.
- Concrete Pavers – Provides a solid foundation.
- Fence Pickets – Useful for decorative elements or paneling.
- GRK Screws – Ensures long-lasting durability.
Where to Buy Supplies
You can purchase all these materials at Lowe’s or Home Depot. These retailers offer budget-friendly and readily available supplies for your DIY projects.
By using these tools and materials, you can successfully complete your woodworking or outdoor project with ease.
Step-by-Step Guide to Building an Outdoor Corner Table
Creating an outdoor corner table is a great way to add functionality and style to your patio or garden. Follow this step-by-step guide to build a sturdy and attractive table.
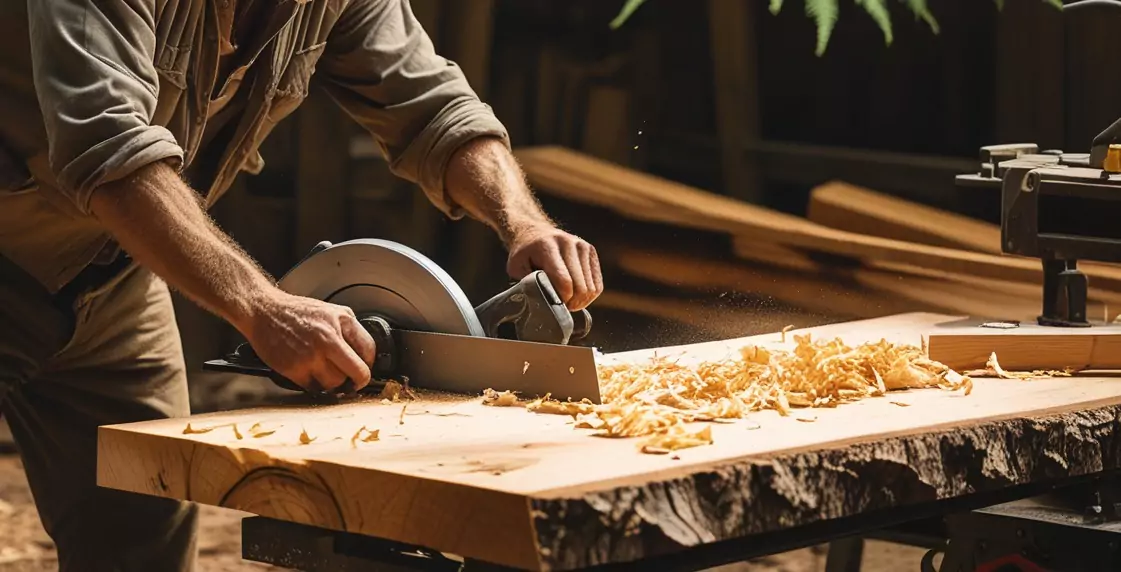
Step 1: Cutting the Wood
Measure and Cut
Before you begin assembling, measure your wood pieces carefully to ensure precision. Use a saw to cut the wood according to your desired dimensions for the table frame and top.
Safety Tips
- When cutting, always wear gloves and safety goggles.
- Double-check your measurements to avoid mistakes.
- Work in a well-ventilated, stable area.
Step 2: Assembling the Frame
Building the Base
Use 2×4 wooden boards to construct the base of the table. Secure the pieces using wood glue and screws for added stability.
Attaching Corner Supports and Legs
For better durability, attach corner supports and legs using pocket holes. This technique ensures strong joints, making the table more stable and long-lasting.
Securing the Frame
Reinforce the entire frame with additional screws. Ensure the frame is level and sturdy before proceeding to the next step.
Step 3: Creating the Tabletop
Choose Your Design
Decide on the shape and material of your tabletop. Popular choices include:
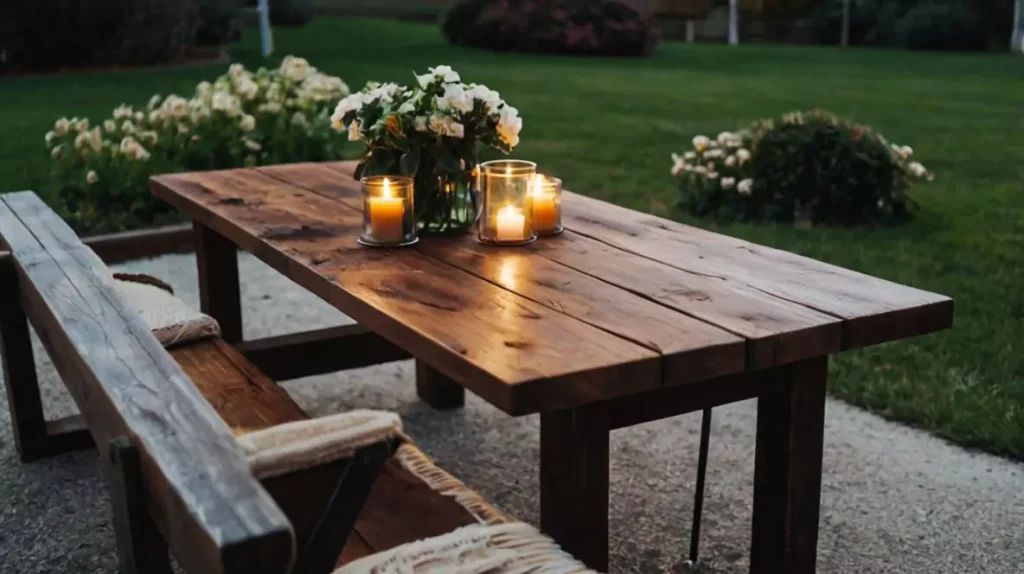
- Round or Rectangular Wood Top – Classic and simple.
- Stone Top – A durable and stylish option.
- Slatted Wood or Concrete Paver – Unique and modern.
Attach the Top
Once you have chosen your tabletop design, secure it to the frame with screws. Make sure it is evenly aligned for a polished look.
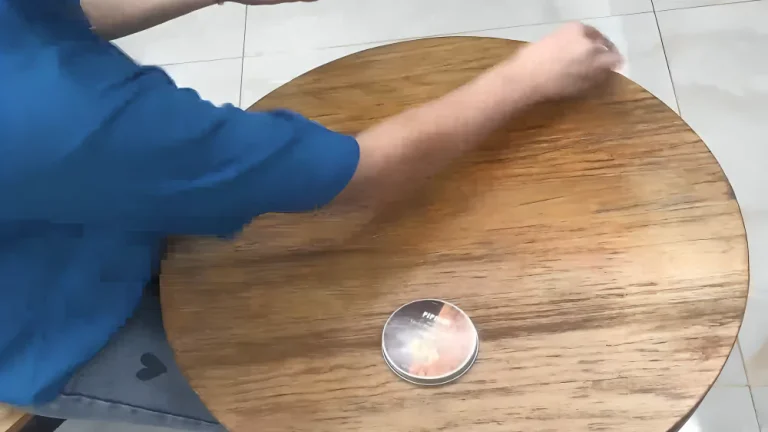
Step 4: Sanding and Finishing
Smooth the Surface
Use sandpaper or an electric sander to smooth out rough edges. This step is essential for a polished and professional finish.
Apply Stain or Paint
Choose an outdoor-grade stain or paint to protect your table from the elements. Before utilizing the table, evenly apply it and allow it to dry completely.
Step 5: Final Assembly
Attach the Tabletop
Secure the tabletop firmly to the base with screws. Double-check that everything is tightly fastened.
Add Finishing Touches
For added stability, install rubber feet or protective pads. You can also incorporate decorative elements, such as weather-resistant embellishments or a custom finish.
Tips and Tricks for Success
Creating a sturdy and stylish outdoor table requires a combination of thoughtful design, proper positioning, and creative decor.
DIY Tips
- Use Pocket Holes for Strong Joints
Pocket holes provide extra stability to your table, ensuring that the joints remain secure and long-lasting. Using a pocket hole jig can simplify the process and create professional-quality results. - Add Weight to the Base for Stability
Outdoor conditions like wind and uneven ground can affect the stability of your table. Adding weight to the base, such as sandbags or built-in weights, can help prevent wobbling and tipping. - Position the Table in a Shaded Area
Protect your outdoor table from excessive weather exposure by placing it in a shaded spot. This reduces sun damage, minimizes warping, and extends the table’s lifespan.
Positioning Your Table
When setting up your outdoor table, consider its placement in relation to your existing furniture and landscape. A well-placed table enhances functionality and aesthetics.
- Near Seating Areas
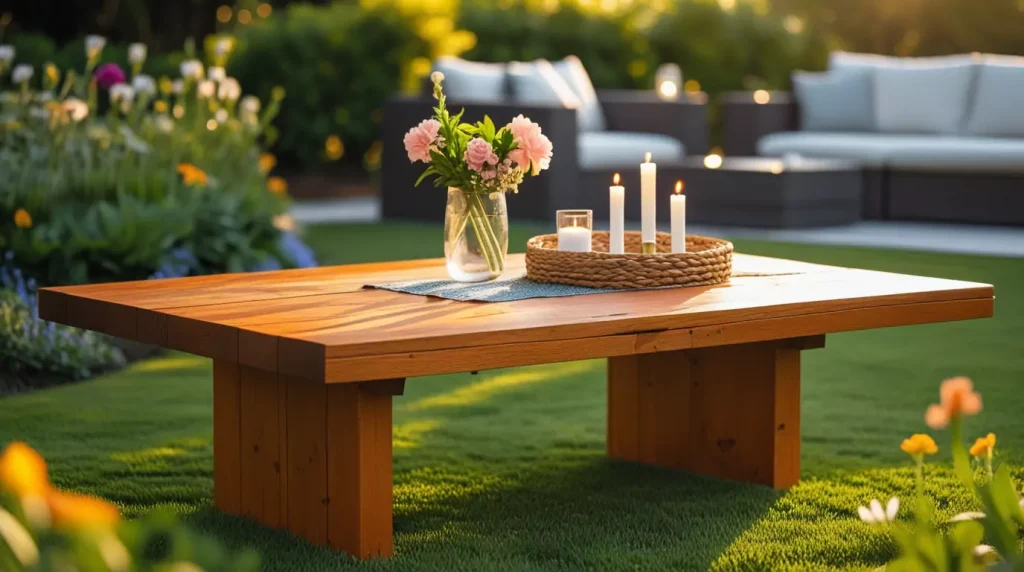
Position your corner table close to seating areas to provide convenience and accessibility. This makes it easier for guests to place drinks, snacks, or decor items. - Adjacent to Planters
If you have outdoor greenery, place the table near planters to create a cohesive and inviting space. The natural elements complement the table’s design and contribute to a relaxed atmosphere. - Harmonize with Other Furniture
Ensure that the table complements your outdoor furniture layout. Aligning it with existing coffee tables, bar tables, or lounge areas creates a unified and visually appealing setup.
Creative Ideas for Outdoor Table Decor
Decorating your outdoor table adds character and warmth to your space. Here are some easy yet effective styling tips:
- Potted Plants or Succulents
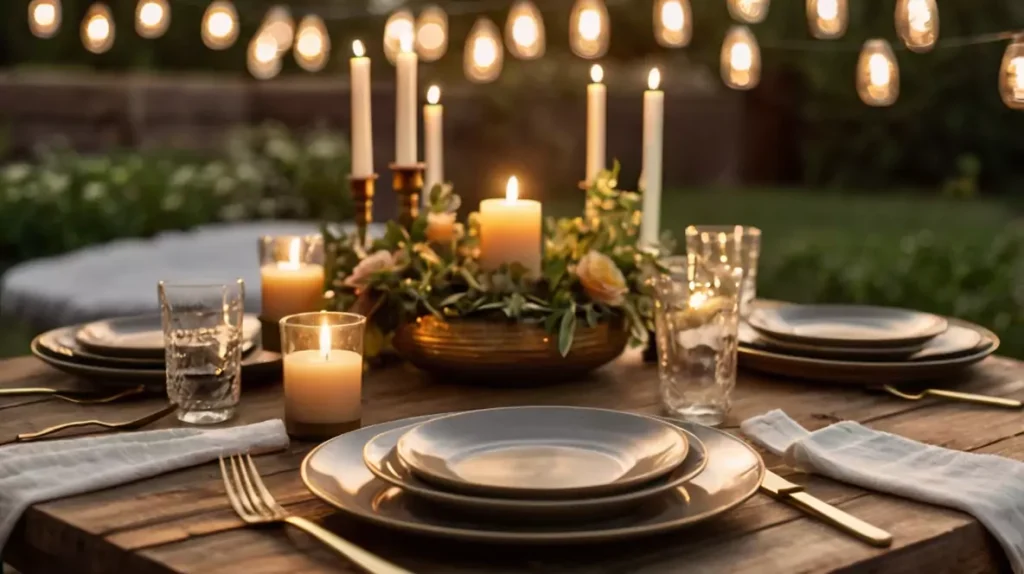
Small plants or succulents enhance the table’s natural appeal. They require minimal maintenance and bring a fresh look to the setting. - Lanterns or Candles
Soft lighting from lanterns or candles creates a cozy and inviting ambiance for evening gatherings. - Coordinated Furniture Pieces
Match your outdoor table with similar furniture styles, such as coffee tables or bar tables, to maintain consistency and elegance.
Simple Outdoor Table Setting Ideas
- Pair with Matching Chairs or Benches
Coordinate your table with matching chairs or benches to create a cohesive and comfortable outdoor seating area. - Use Outdoor Tableware
Opt for durable, weather-resistant tableware to enhance both aesthetics and functionality. - Add Colorful Cushions or Throws
Incorporate vibrant cushions or soft throws to add a pop of color and extra comfort to your outdoor setting.
By following these tips, you can create a beautiful, functional, and durable outdoor table that enhances your space and provides a welcoming environment for family and guests.